What you need
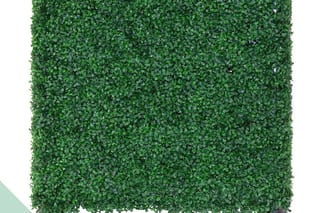
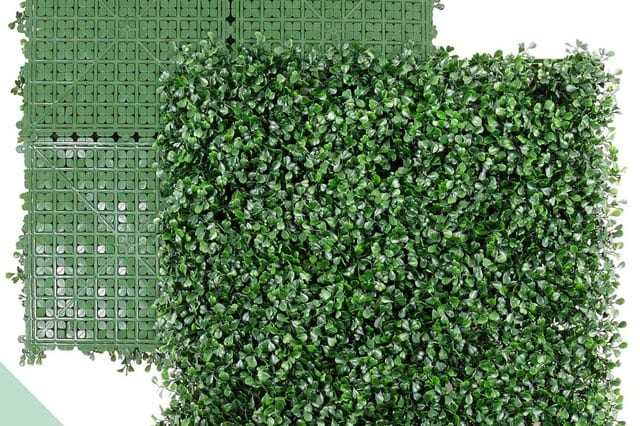
Boxwood mat panels, the UV-rated zip ties that ship with them, a pair of snips, a tape measure and a second person for the first row. No drilling, no posts, no concrete.
Step 1: Count the panels
Measure the fence run post to post and the mesh height from the bottom rail to the top rail. Divide each by the panel size on the product page and round up. Order one spare panel from the same batch so a future repair matches in color.
Step 2: Start at a top corner
Hold the first panel square against the top rail and the end post. Tie it through the grid on the back of the panel and around the mesh at the four corners first, then every 12 inches along the top. Keep the ties loose until the panel is square, then pull them tight.
Step 3: Interlock the next panel
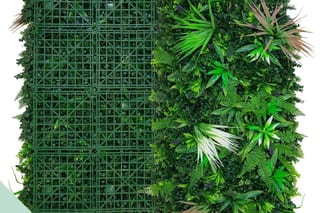
The grids overlap at the edges so the seam disappears in the foliage. Slide the next panel over the first, tie through both grids where they overlap, and keep the foliage running in the same direction. Work along the top row before starting the second row.
Step 4: Trim to fit
Cut the grid, not the foliage. Snip the plastic lattice at a post or a gate, then tuck the loose foliage back toward the seam. A panel cut to width still hides its edge once the foliage settles.
Step 5: Finish the edges
Fold the foliage at the top, bottom and ends over the grid so no plastic shows at the rails and posts. This is the step most people skip and the reason some installs look artificial from the sidewalk.
The three mistakes to avoid
- Panels running in different directions. The foliage has a grain; keep it consistent so light hits every panel the same way.
- Ties pulled tight before the panel is square. A panel tied crooked stays crooked.
- Cutting the foliage instead of the grid. The foliage hides the cut; a trimmed leaf edge does not.
Foliage that flattened in shipping opens up in the sun within a day or two. Rinse dust off with a hose once a season. Ready to start? Shop hedge panels or send us the fence measurements and we will count the panels for you.